
Homemade Snack Cakes

Homemade Snack Cakes using Bakery Bliss Cake Mix
There’s something so nostalgic about those classic chocolate-coated snack cakes. Soft cake, creamy filling, and that satisfying snap of the shell. This homemade version lets you recreate that treat using our Bakery Bliss Cake Mixes. Honestly, the best part is how customizable these are! Switch up the flavour (confetti cake, anyone?) and cut them into any shape or size you like.
They’re fun to make, great for parties or lunchboxes, and honestly feel a little bit magical the first time you dip them and watch that smooth chocolate coating set.
Homemade Mini Snack Cakes
Step 1: Bake the cake
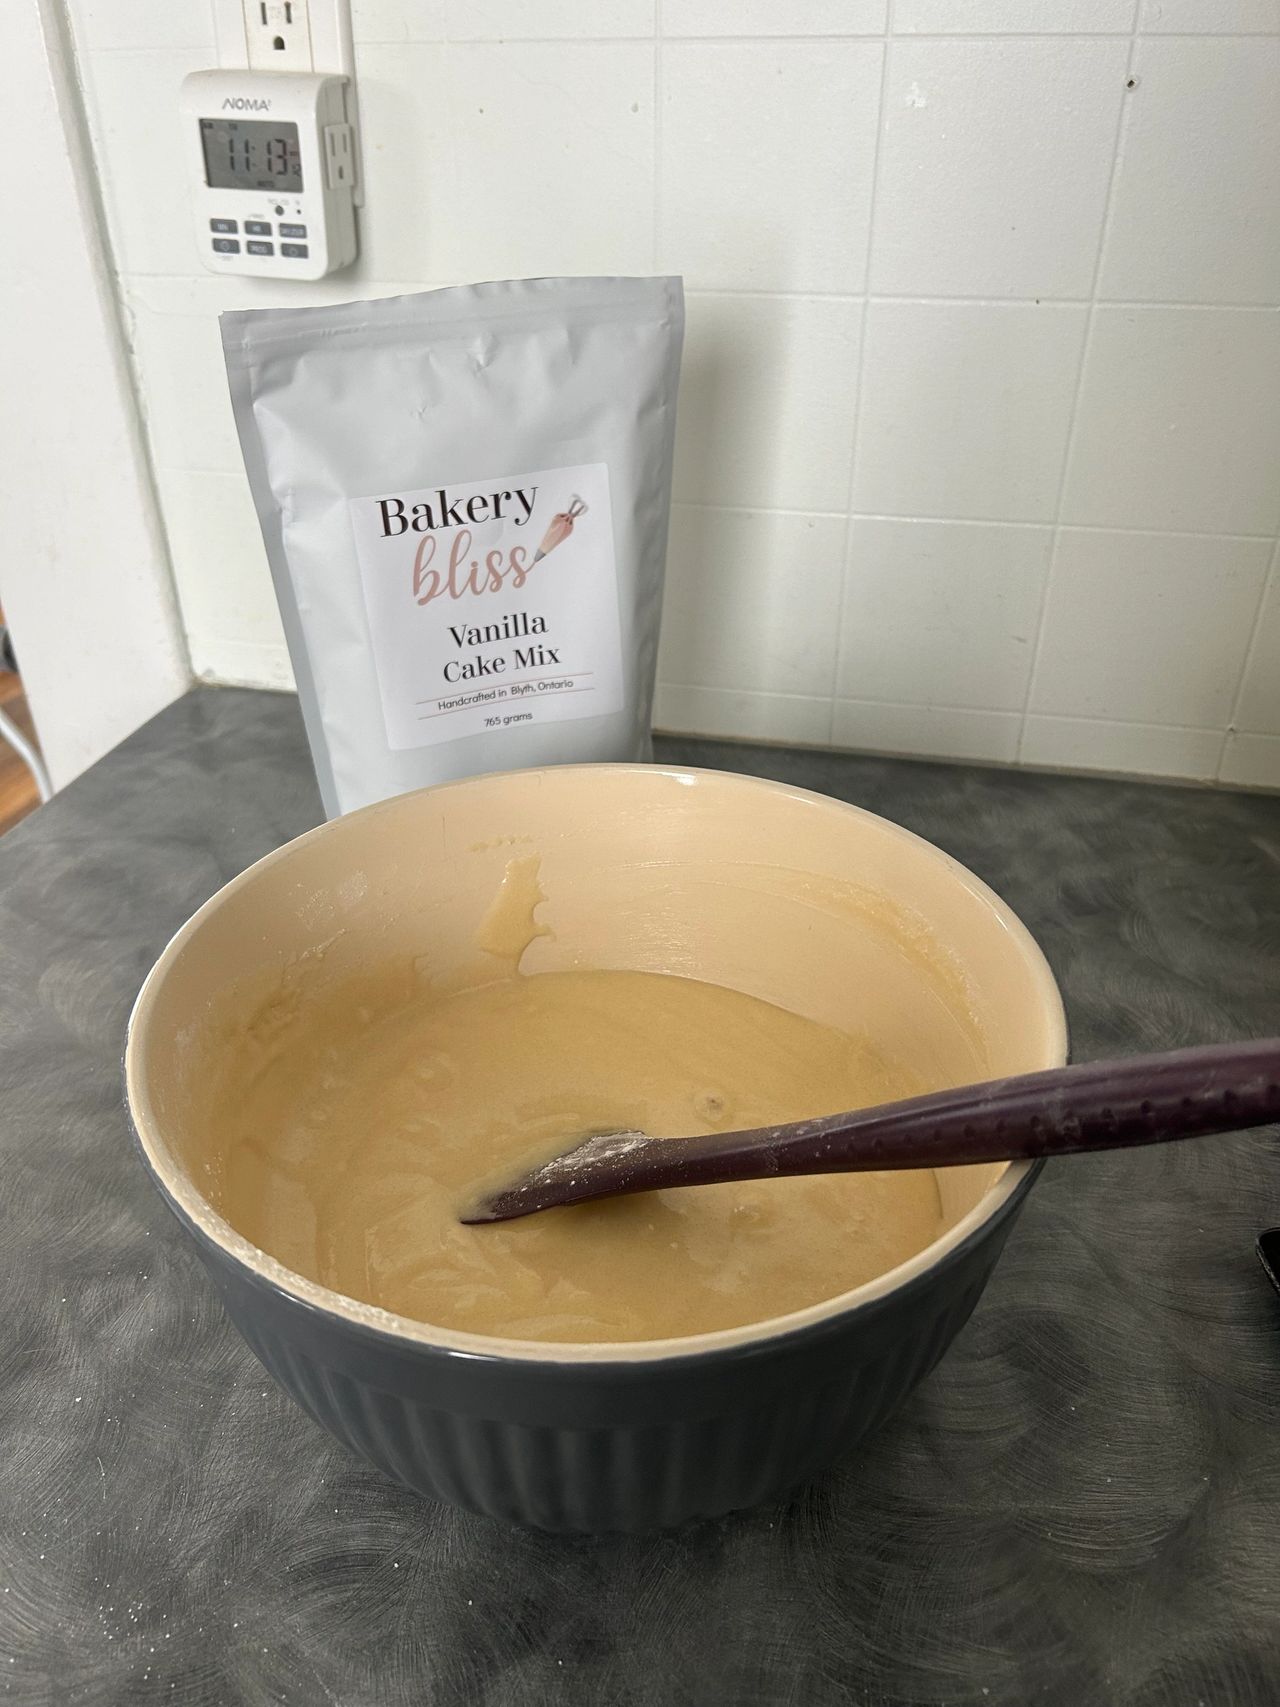
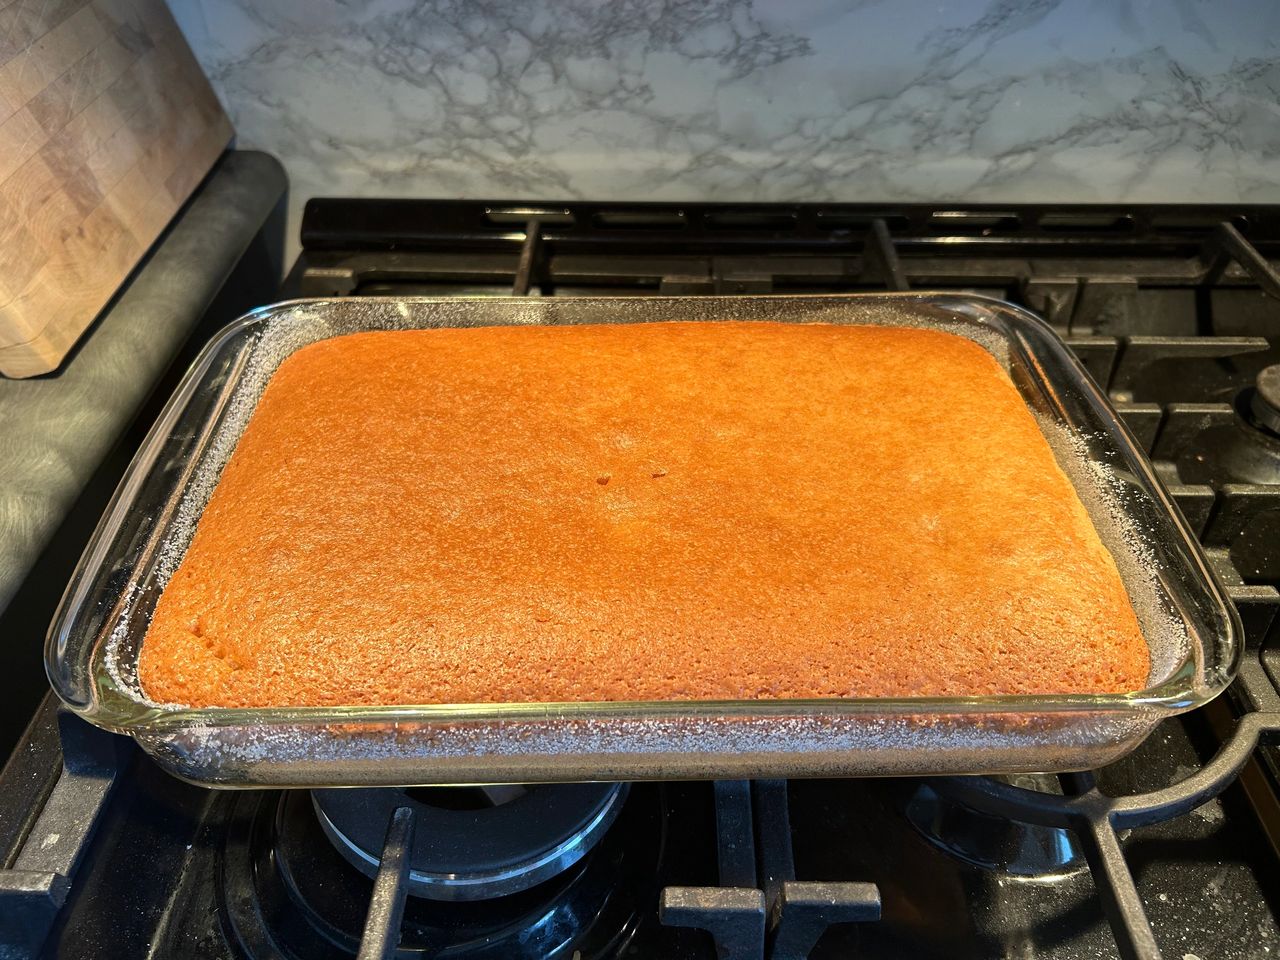
Prepare your Bakery Bliss Cake Mix according to the package directions, baking it in a 9×13 pan.
Allow the cake to cool completely before moving on.
Step 2: Cut and layer
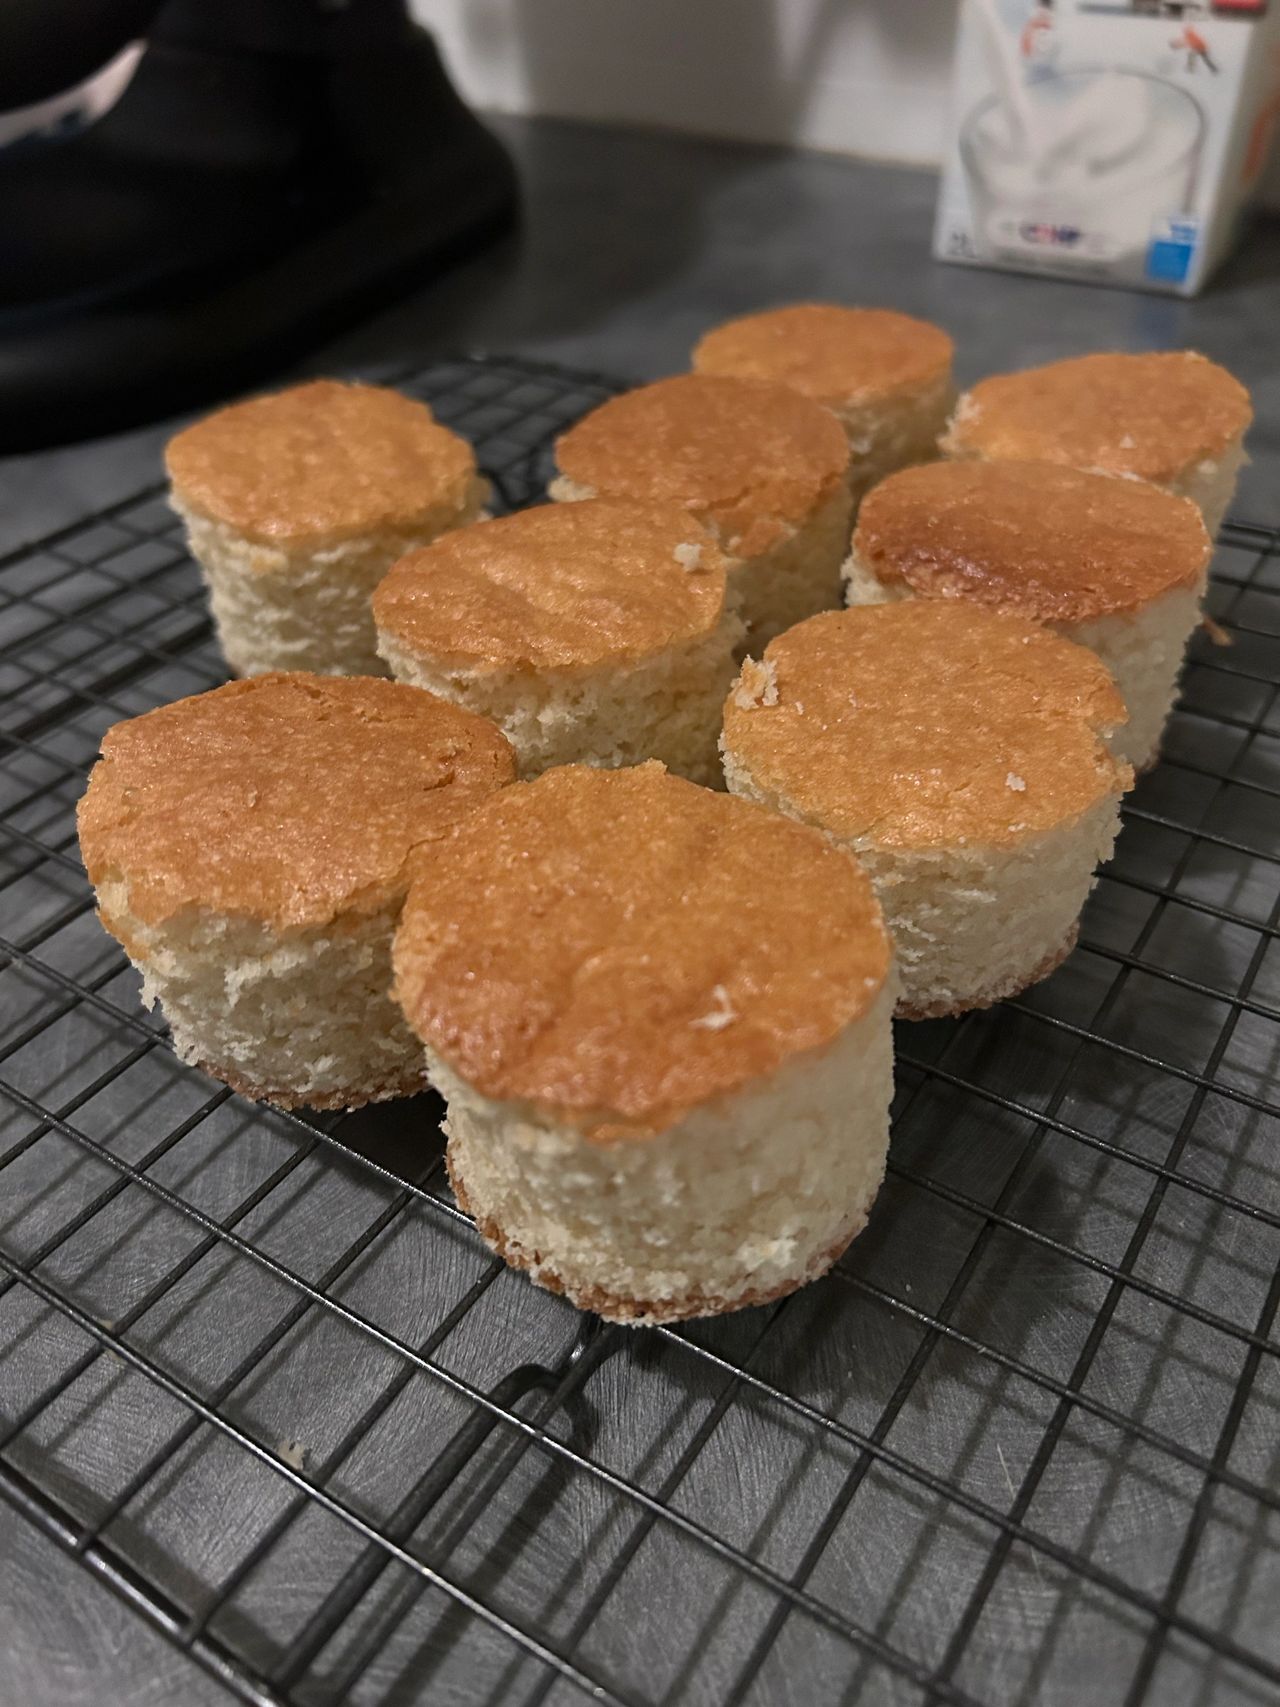
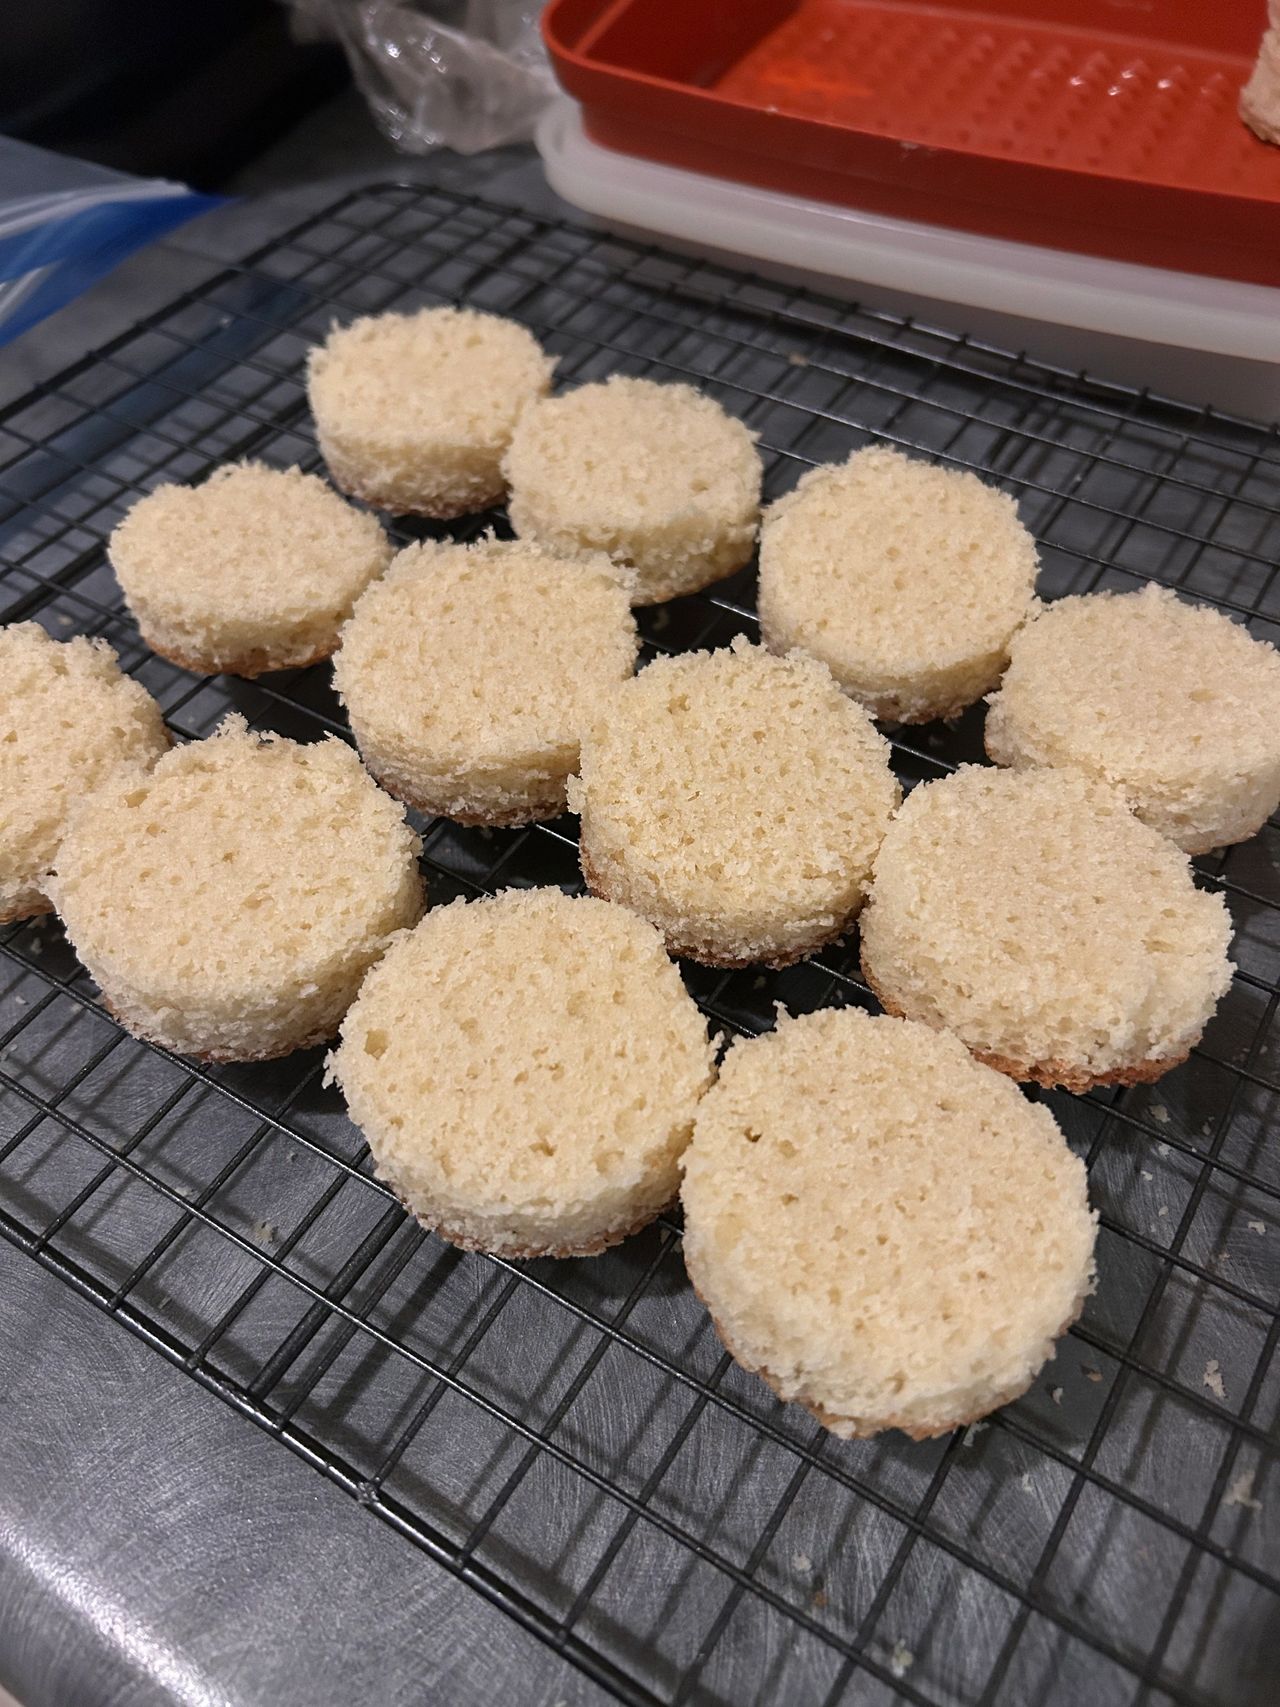
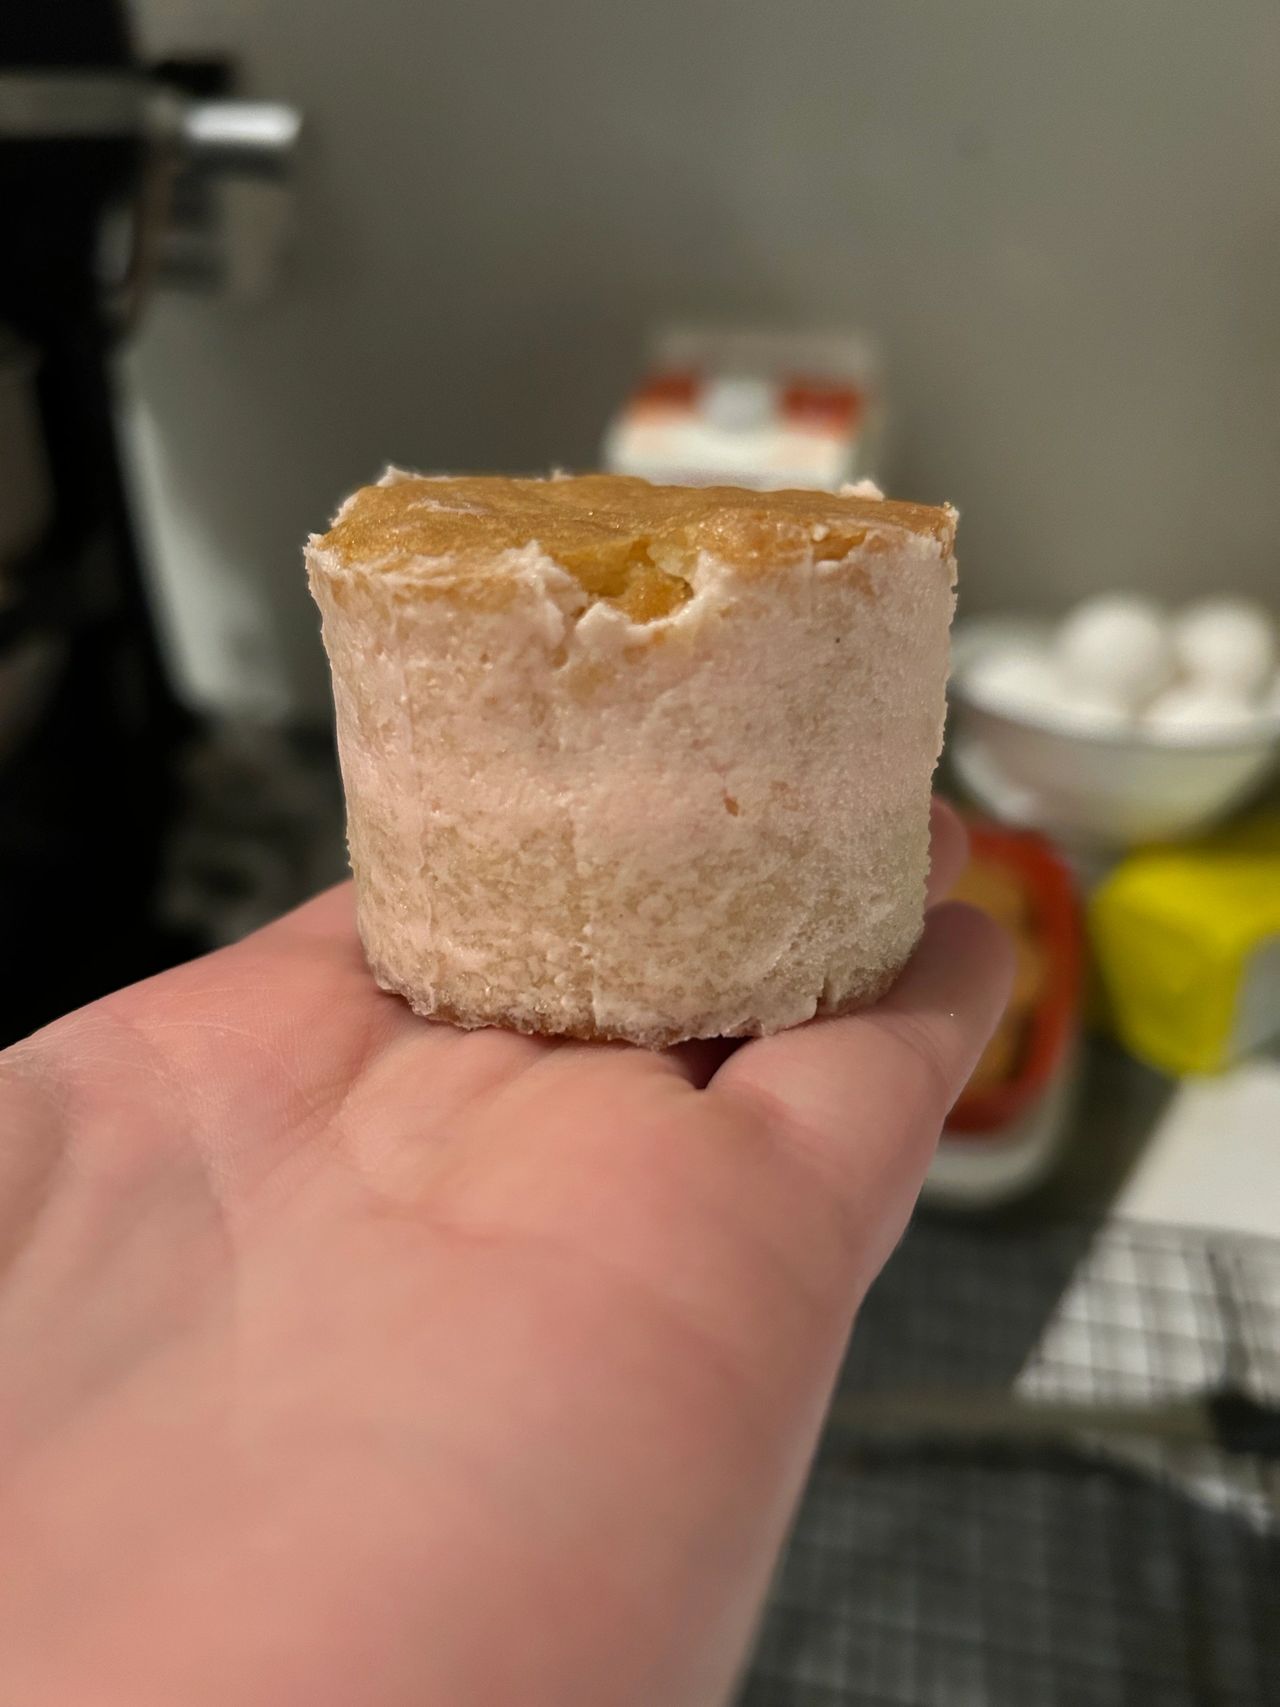
Use a cookie cutter to cut the cake into shapes.
I used a 2-inch circle cutter, but feel free to use any cutter you like.
Once cut, slice each piece in half horizontally to create two thin layers.
Step 3: Fill
Spread buttercream onto one layer and top with the second layer to make a sandwich.
You can use:
- my Easy Buttercream Recipe
- or store-bought frosting (no judgment here!)
Repeat until all your cakes are assembled.
Step 4: Optional crumb coat
If you’d like a smoother finish, thin a small amount of buttercream with a little milk and apply a very light crumb coat just around the sides.
Leave the tops and bottoms bare.
(This helps keep crumbs out of your melted chocolate, but you can absolutely skip this step.)
Place the cakes in a container and freeze until firm, about 1–2 hours or overnight.
Step 5: Melt the coating
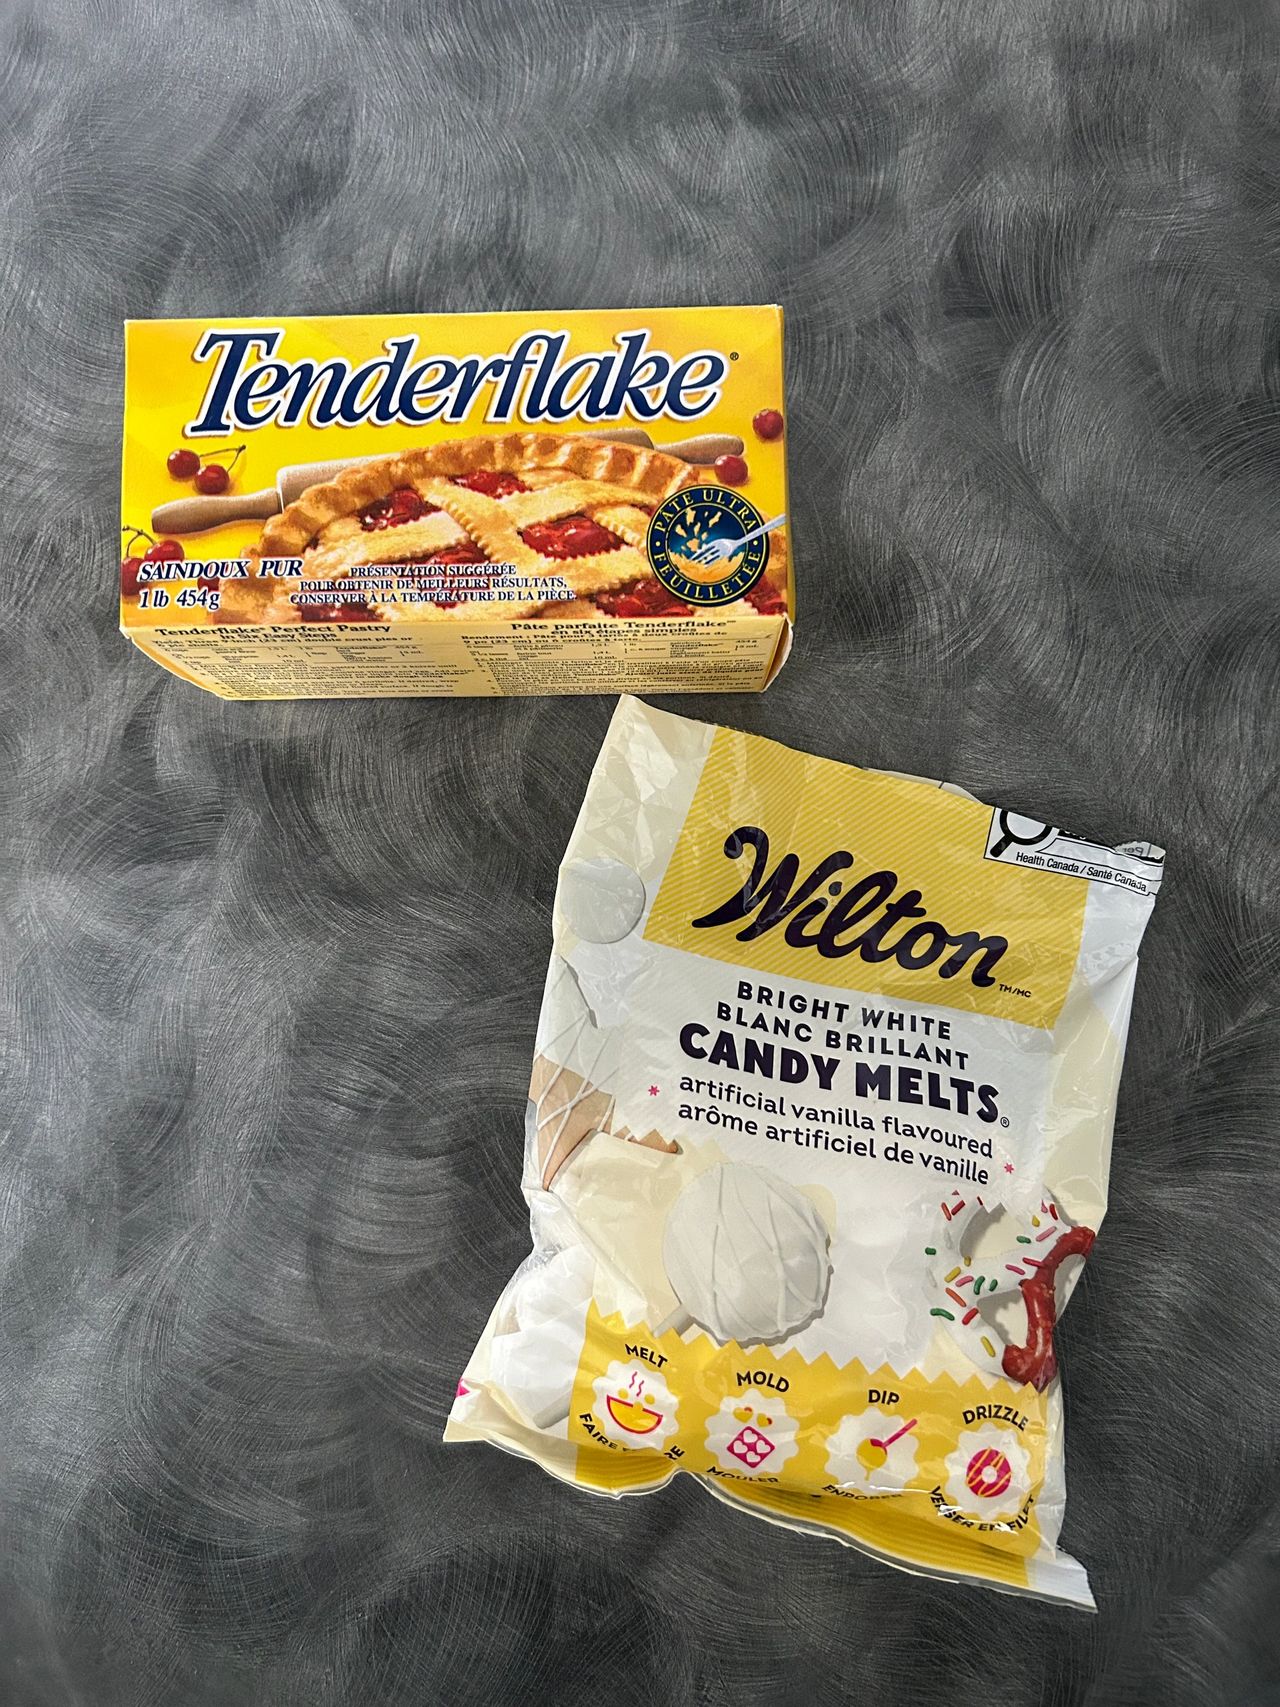
Using a double boiler or microwave, melt your candy melts until smooth.
Stir in a couple teaspoons of vegetable shortening to thin the coating.
You can also use:
- solid coconut oil
- cocoa butter
This step helps the coating glide over the cakes more easily and gives a smoother finish.
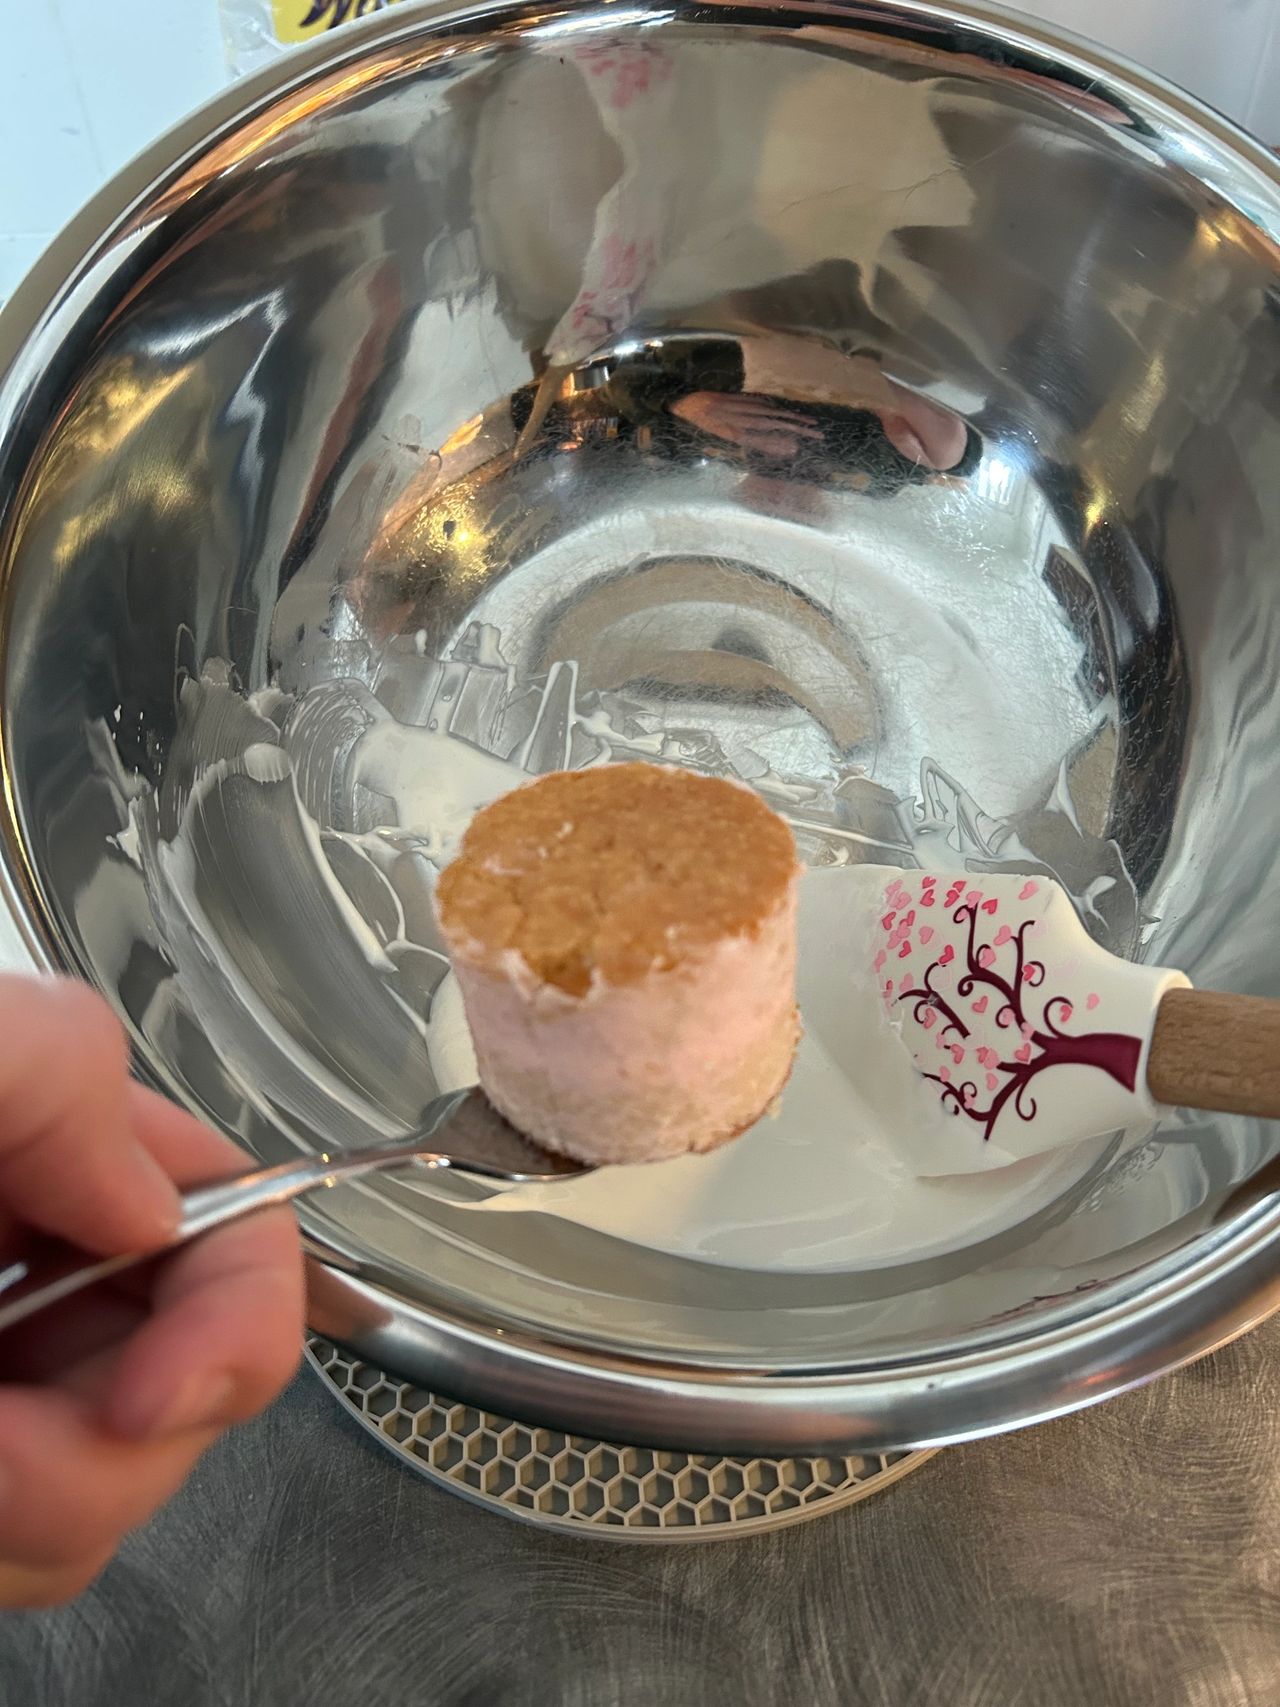
Step 6: Dip the cakes
Remove the cakes from the freezer and dip them into the melted coating.
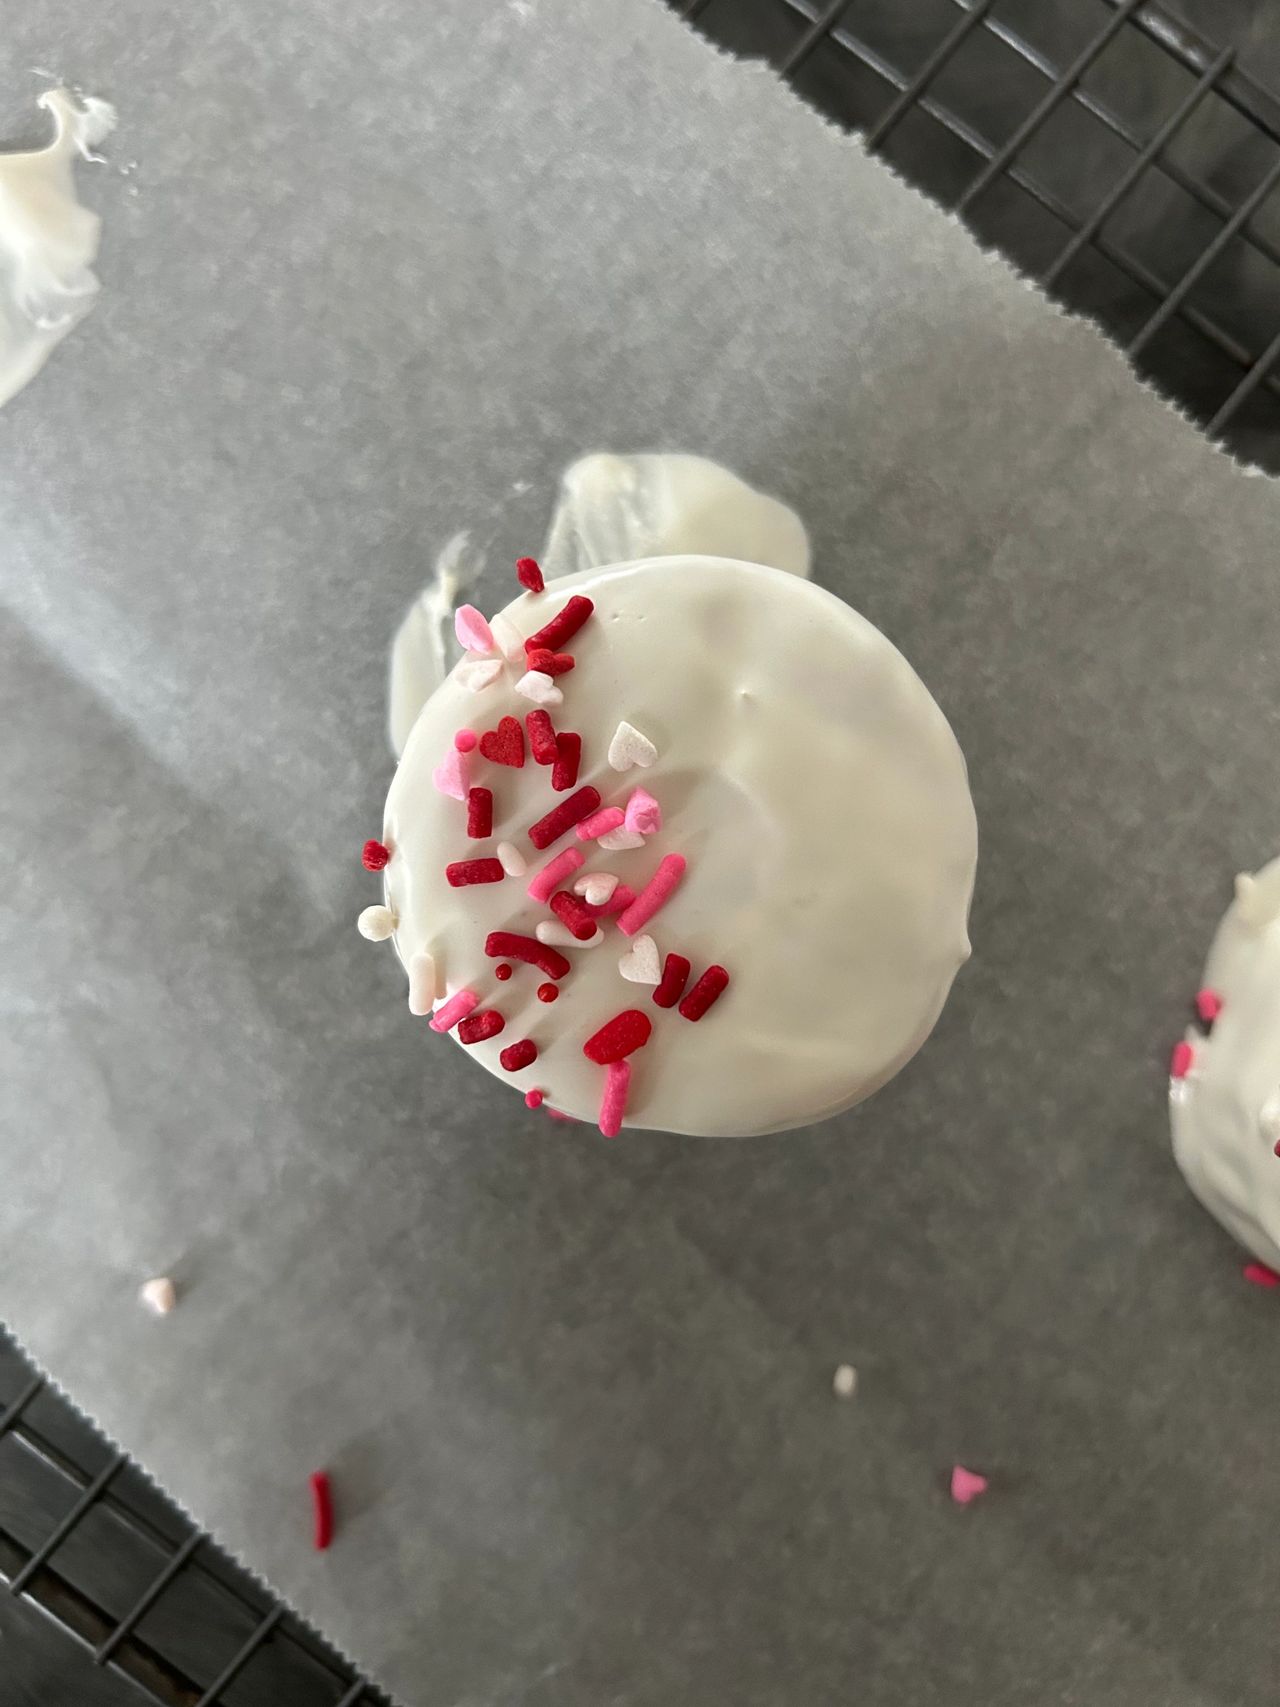
Tap off the excess and place on a tray lined with parchment paper.
If adding sprinkles, do it immediately, the coating sets quickly.
Best dipping methods
The two easiest methods I’ve found are:
1. Fork + spoon method
Place the cake on a fork and spoon melted coating over it until fully covered.
2. Dip and flip method
Gently stab the cake through the bottom with a fork and dip it into the coating.
Spoon a little coating over the bottom if needed, tap off the excess, then use a second fork to slide it off and onto the tray.
Let the coating set completely before serving.
Store in an airtight container at room temperature for a soft coating, or refrigerate for a firmer snap.
If you make these, I’d love to see your versions! Tag me on socials (@bakeryblissjess) and use the hashtag (#BakedwithBakeryBliss) so I can share your creations!